Studio Experience Directions
1. Look at the Powerpoint above.
2. Must have used one shot using Hard Light and one shot using Soft Light. *Natural Light if you can.
3. Check out examples below for inspiration.
2. Must have used one shot using Hard Light and one shot using Soft Light. *Natural Light if you can.
3. Check out examples below for inspiration.
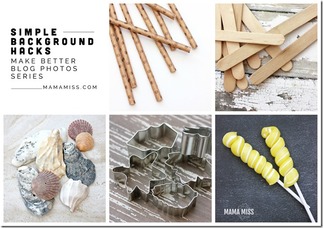

8 Tips to Get started
Getting Started
1. Remember you don't need a fancy location or studio to make Still Life Photography. You can simply use a space at home, such as a table by a window, with a simple backdrop and utilizing a couple of lights. Remember you have control over the situation, including the subject matter, but you need to think creatively in order to capture the image.
Choosing a subject
2. What you photograph is completely up to you, find things that are simple but interesting. Think outside the box from the typical fruit and flowers. Once you've mastered the simple shots, try mixing it up by combined objects of contrasting shape, color, texture to see what you get!
Lighting
3. Lighting doesn't have to be expensive, so utilize what you have on hand. Using your household lamps can work extremely well if you use them effectively. Be sure to try multiple positions to set up - use different directions of light and combos of light directions.
Tripods and Angles
4. Using a tripod and a cable release will allow you to observe and work with your subject matter better. You can use slightly longer shutter speeds than usual to ensure a small aperture allowing the image to have a great depth of field if desired. However, don't let a static camera stifle your creativity, if you think a shot would be better at an angle that you can't achieve with the tripod - take it off! Be sure to use a variety of heights and angles when shooting. MIX IT UP!
Get the backdrop Right
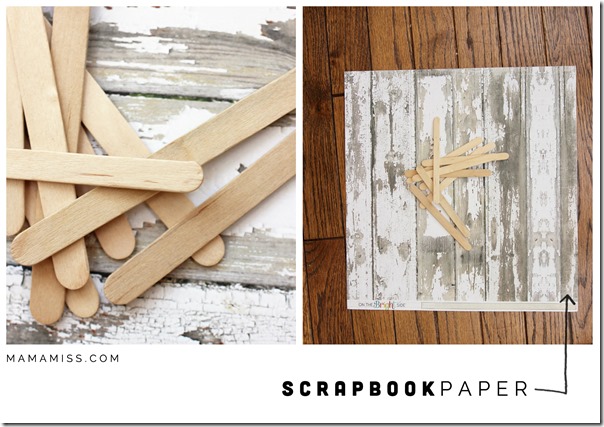
5. Having a suitable backdrop for your subject matter will be a critical part in the overall success of your shots. Keep it simple so it doesn't distract from your subject. A plain wall, sheet or paper can be ideal. Think about how the choice of your background contrasts with the subject, or maybe a neutral background, or hues in the same color family. For small objects you may not need a backdrop, you could use the surface the items are placed on for the backdrop.
Composing the Shot
6. Always remember your compositional arrangements - this is the crucial part! If you forgot, use Rule of Thirds! Try thinking outside the box and answer these questions when you do. Where are you leading the eye within the frame? Are you utilizing negative space or might it work to try and fill the frame? Engage with the subject, what are its defining features? What is it used for? Are you able to put it into context or does it work as a stand alone subject?
Taking all Day
7. Take the advantage that you have time when working in a "studio", setting up your subject, lighting, backdrop and camera. Try a few shots, then move things around a bit and take a few more shots, then repeat. If you get to a point where things are going quite right, you can walk away for a bit to refresh.
Inspired by the Masters
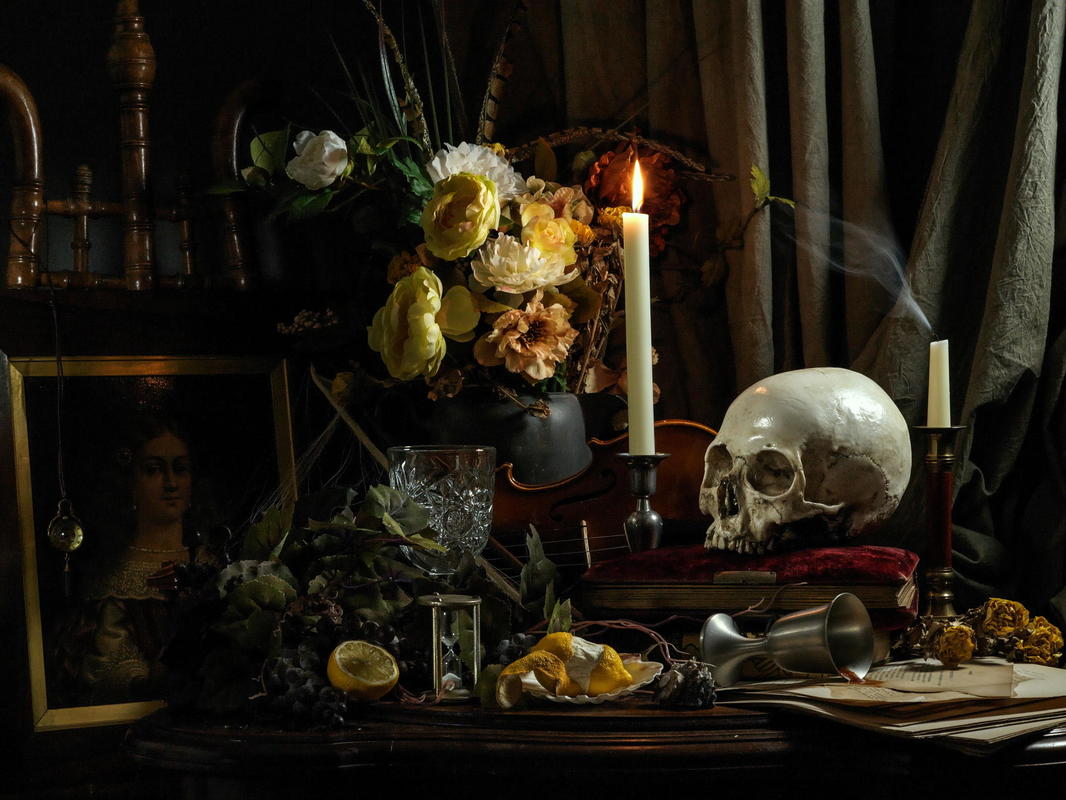
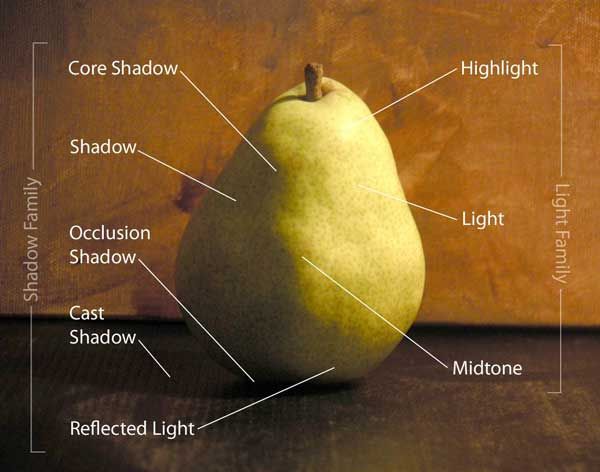
8. If you are struggling with the lighting, composition or structure of your shots, then you need to find some inspiration! Look online, look up Renaissance still life artists and observe the elements. When looking at the paintings, study how they created form, color work together.
|
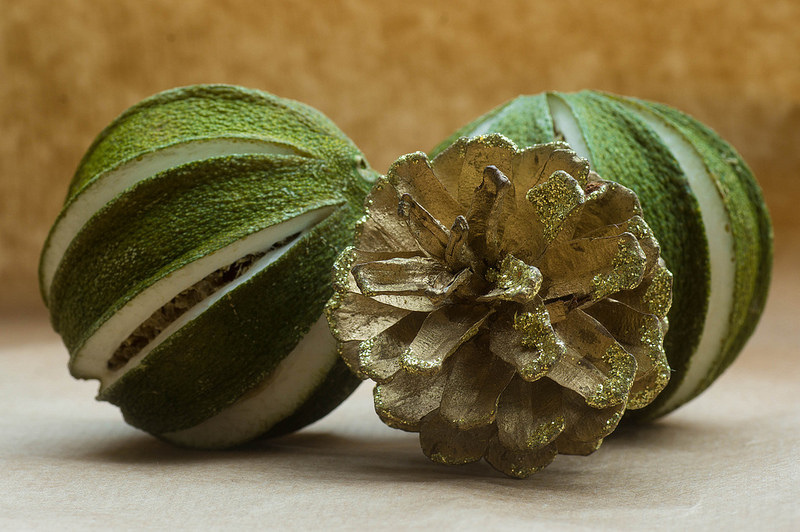
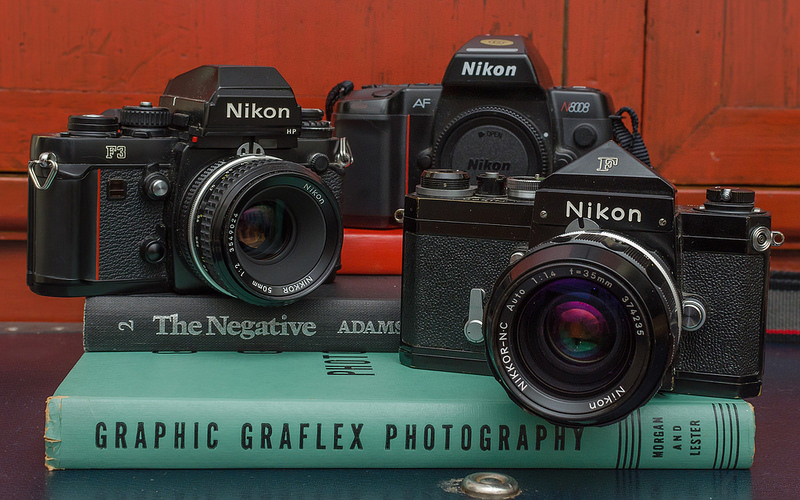
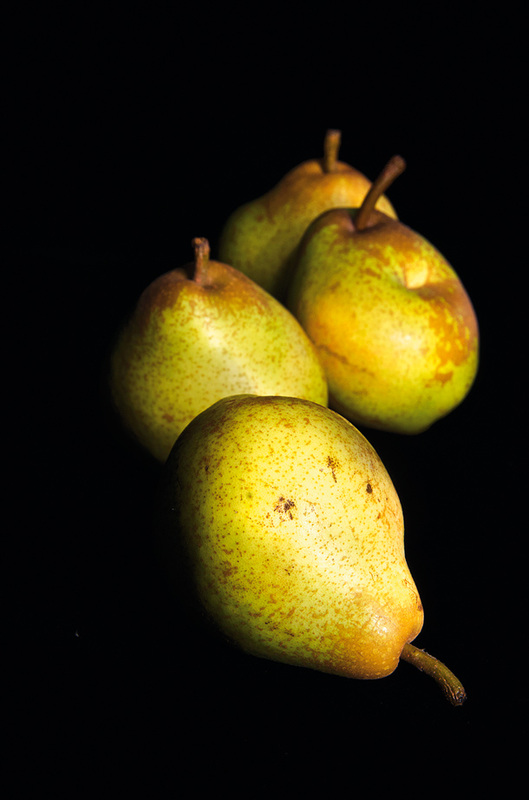
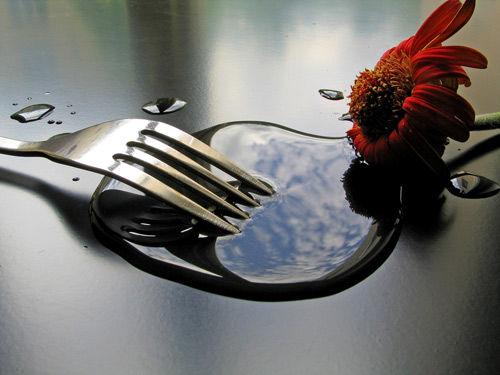
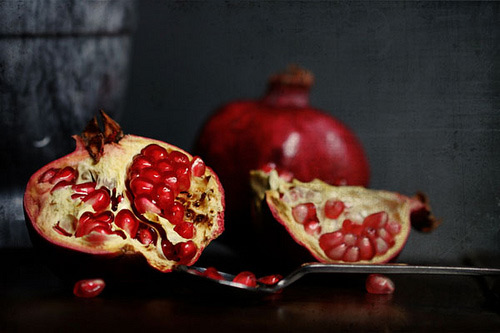
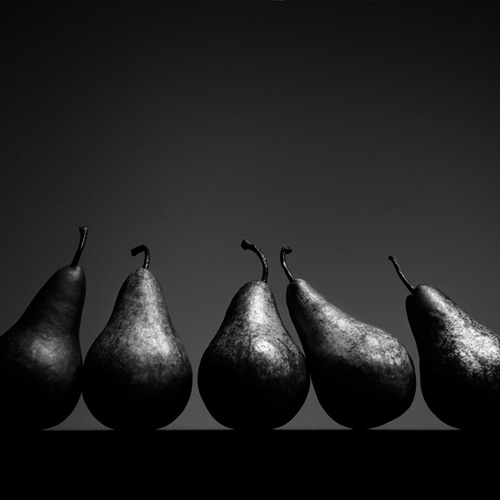
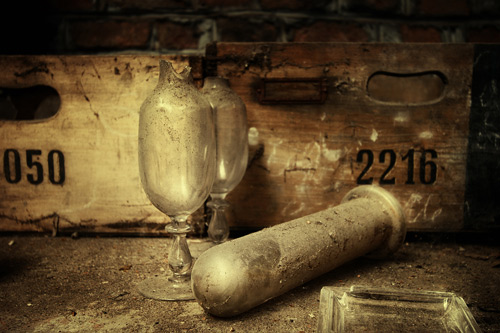
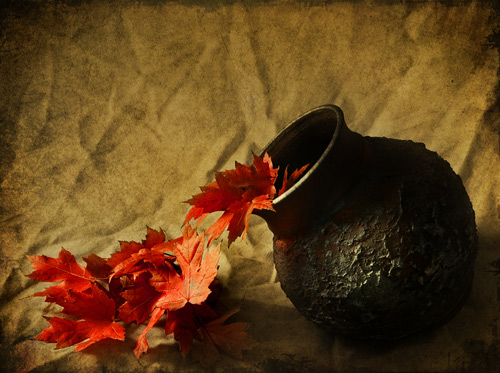
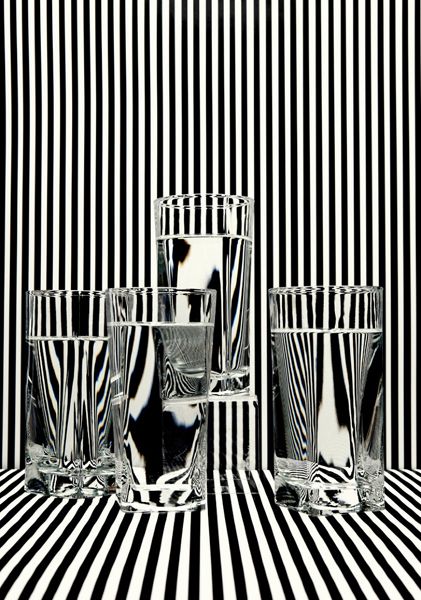
Still Life Examples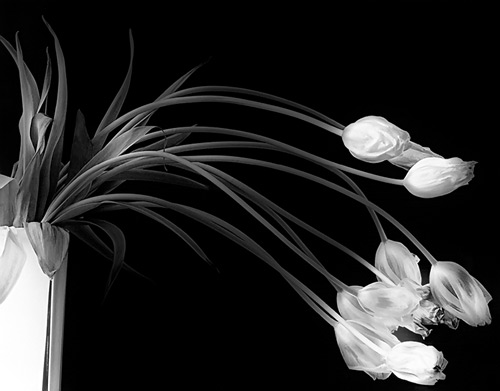
|
Photos used under Creative Commons from Derek N Winterburn, FlâneurFloyd
